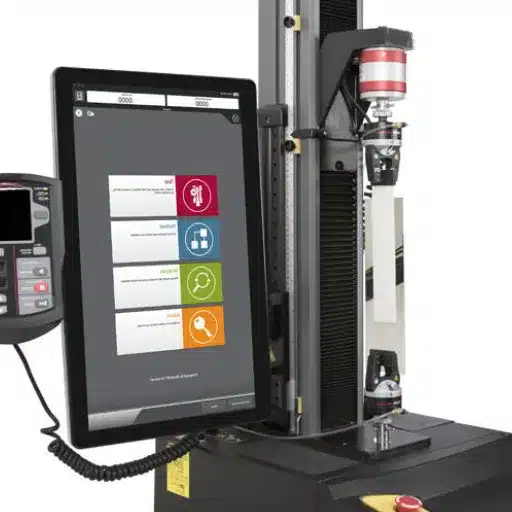
Mechanical testing has become an inseparable part in determining performance and reliability of materials in different industrial sectors. From the ever-growing list of modern-day testing techniques, tensile and impact tests are the most basic yet profound methods for assessing materials. Nevertheless, the differences and the triggering factors for employing any of both tests remain unexplained: this article discusses these questions about tensile and impact testing—with an emphasis on their principles, uses and relevant conclusions. In case you are an engineer, researcher, or just a curious soul in the field of material science, you will appreciate the clarity provided in understanding these pivotal mechanical tests after going through this guide.
What is a Tensile Test and How Does it Work?
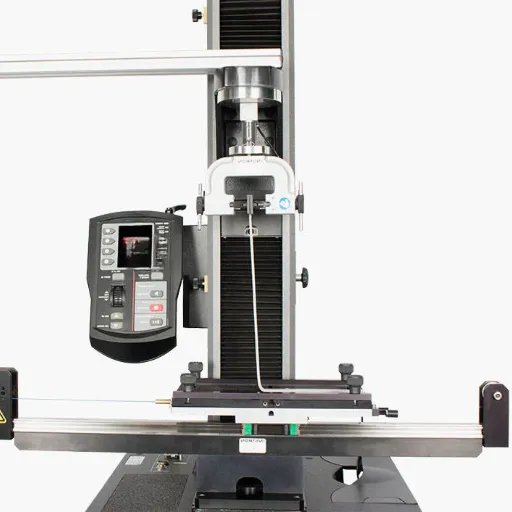
A tensile test is perhaps the most common form of mechanical assessment that is done to determine specific numeric values of strength and ductility of any material through applying uniaxial force to it. During such tests, uniform strain gauge specimens are mounted, pulled, and broken in special devices referred to as tensile testing machines. Measurement of tensile strength, yield strength, and elongation are done through computer-controlled systems. This test enables one to make important decisions associated with various processes involving the particular material such as procurement, quality assurance, and structural design of components subjected to particular loads.
Principles of Tensile Testing
Tensile testing principles revolve around the meticulous evaluation of a material’s response to uniaxial tensile forces. In the course of testing, a specimen undergoes deformation and is loaded incrementally until failure occurs and full fracture is achieved. Stress-strain curves obtained from the specimen yield critical information about the material’s mechanical properties, such as elastic modulus, ductility, and toughness. More recently, non-contact strain measurement techniques, such as digital image correlation (DIC), have improved accuracy for strain data. In addition, high-speed collection and processing of data coupled with complex algorithms allow for more thorough analysis concerning material behavior, including strain rate sensitivity or necking analysis. The aerospace, automotive, and construction industries require the rigorous evaluation of materials performed through tensile testing to best understand material performance under stress for safety and functionality purposes.
Role of Specimen Preparation in Tensile Tests
Drafting a specimen for tensile testing requires precision as any deviations from the intended design may affect the consistency and dependability of the data collected. The geometry and finish, as well as the presence or lack of any imperfections, directly determine how close the results will be to the truth. As indicated in ASTM E8/E8M or ISO 6892-1, template sizes have also been set to minimize alterations due to inconsistencies in shape or size, ensuring uniform distribution of stress and strain.
Uneven surfaces pose a problem just as great by not enabling the specimen to absorb load equal to its surface area because of features like scratches and corrosion. These not only make a specimen visually unappealing but also lead to distortion. Therefore, Precision Grinding and Wire EDM are commonly employed as their ability to achieve precise measurements far surpasses the damage done due to fabrication residual stresses. Moreover, alignment while clamping should be unyielding to movement to keep bending stresses in check. Otherwise, the accurate distortion of the tensile properties would be inevitable.
Application-specific metallurgical considerations such as grain structure and heat treatments are equally paramount. Inconsistency to specimen surface preparation risks distortions of critical material parameters like yield strength, tensile strength, and percent elongation which may lead to inaccurate assessments of material performance. Thus, uncompromised quality control during specimen preparation is required to preserve the accuracy of tensile testing results.
Common Tensile Test Machines and Their Functions
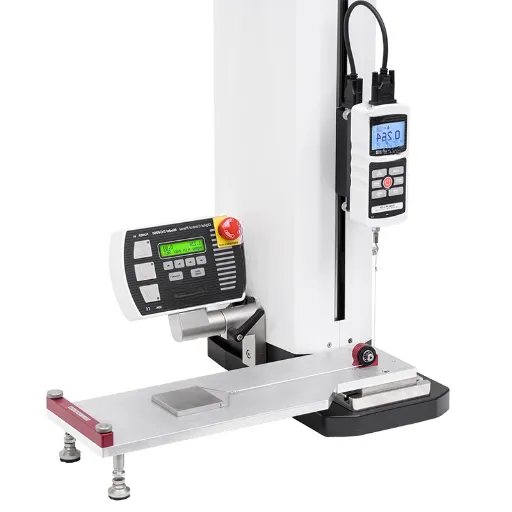
Tensile test machines, better known as universal testing machines (UTMs), are multi-purpose testers used for determining the mechanical properties of materials through tensile tests. UTMs are essential in material testing and are utilized in manufacturing, construction, and aerospace industries. Some of the common types of tensile test machines and their uses are provided below.
- Electromechanical Testing Machines
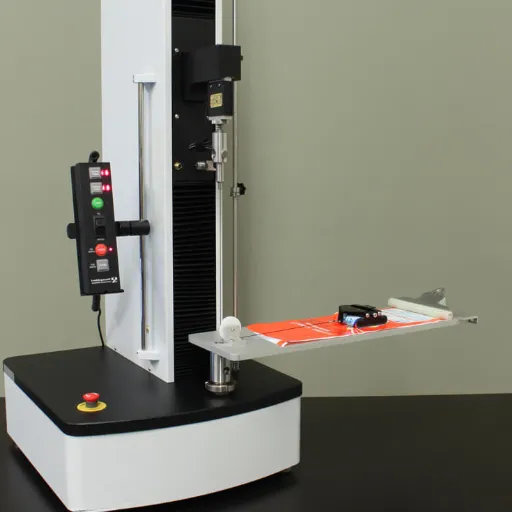
Electromechanical Machines. These machines are driven by an electric motor that applies a tensile load to the specimen by means of a screw drive mechanism. These machines are highly accurate and are often used for low to moderate force control applications. Features that stand out include programmable test sequences, accuracy in measurement of the load and displacement, and diverse grips. These machines are frequently used for polymers, textiles, and metals within particular load limits.
- Servo-Hydraulic Testing Machines
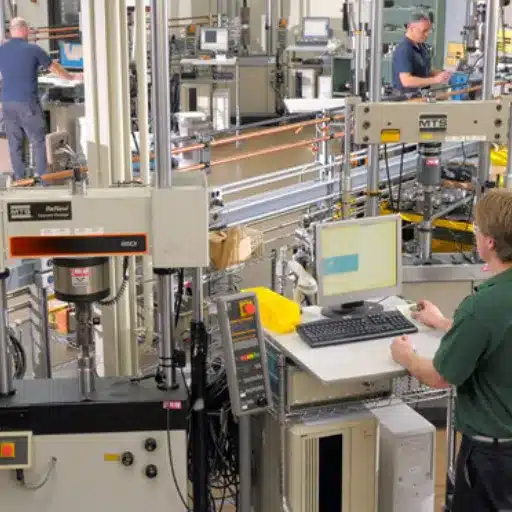
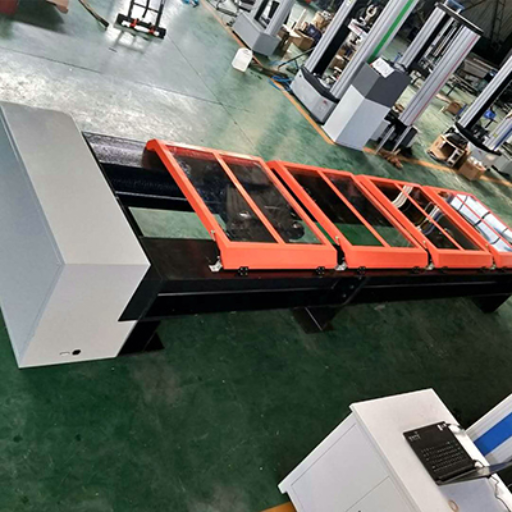
Precision is a hallmark of servo-hydraulic machines, which use filters to control the servo valves that drive the hydraulic cylinders, exerting force on the test specimen. A structural metal or a large composite constituent part would require high load testing, which is supported by these machines. Their dynamic performance is unparalleled and is best exemplified by their ability to apply fluctuating (variable) loads during fatigue testing and other forms of dynamic testing over long periods of time. Robust high-speed data acquisition controllers can also be fitted, allowing for more thorough examinations of the specimen under test.
- Tabletop Testing Machines
These machines are suitable to evaluate small specimens of delicate materials such as wires, films, biomaterials and are thus ideal for micro-mechanical analysis. Their compact size makes them ideal in constrained spaces such as research laboratories.
Research scenarios and material types to be tested are boundless; however, precision, efficiency, and reporting capabilities are integral to all and have been greatly enhanced due to sensor and software advancements. Regardless of the machine, a tensile test is performed with precise consideration of the material’s properties, desired force application, and the specific mechanical measurement to be executed.
Exploring Impact Tests: What You Need to Know
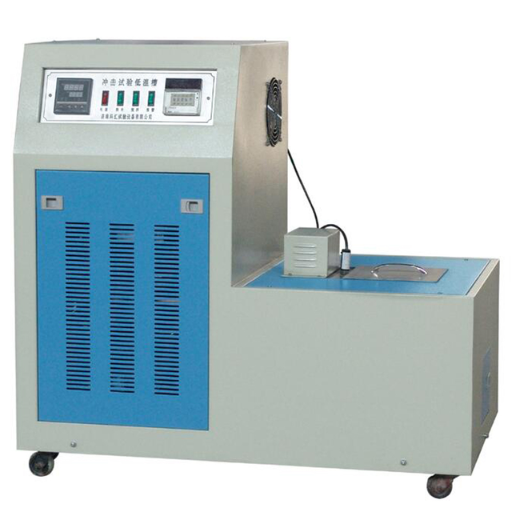
Impact tests are paramount for evaluating the capability of a material to absorb energy and resist changes in forces, especially in situations where materials are subjected to dynamic conditions or high stress. Impact tests of toughness are the most frequently used ones—Charpy and Izod. Both tests measure energy absorption during fracture after impact and ascertain toughness of the material.
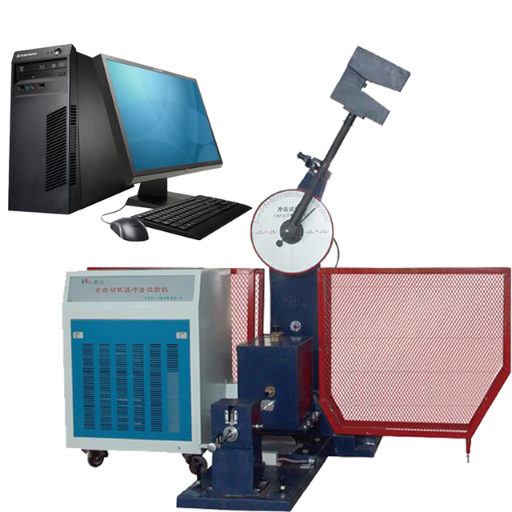
The Charpy test is conducted with a pendulum hammer which strikes a notched sample. The energy absorbed is determined from the swing of the hammer post impact. The Izod test also uses a notched sample; however, the sample’s position during testing and the manner in which it is held differs from the Charpy test.
Basics of the Impact Test Process
The impact testing procedure begins with the fabrication of a test specimen which must be accurately notched as per specified standards, ASTM and ISO, for example. Notching is important because it focuses stress at a particular region, thereby enabling the determination of a material’s notch toughness and allowing the test to fully control accuracy. A specimen is often placed in a fixture with a pendulum or drop weight apparatus.
During testing, a pendulum or weight is allowed to drop and impact the specimen at a preset speed. A high precision sensor within the apparatus registers energy for the specimen during fracture or deformation. Modern testing apparatuses can now gather data in real time that include, but is not limited to, fracture propagation velocity and post-impact vibrations. Equipment advances enable detailed minute analysis of material behavior over a range of environmental conditions, such as temperature and strain rate changes.
Having this information is particularly useful for industries working on resilient and tough materials. Researchers can now correlate certain chemical compositions of alloys and their notch impact toughness aiding in design safety for pressure vessels and crashworthy components in the automobile industry.
Key Differences Between Charpy and Izod Tests
|
Key Point |
Charpy Test |
Izod Test |
|---|---|---|
|
Specimen Placement |
Horizontal |
Vertical |
|
Notch Position |
Facing away from striker |
Facing the striker |
|
Specimen Size |
Standardized dimensions |
Standardized dimensions |
|
Testing Machine Type |
Pendulum hammer |
Pendulum hammer |
|
Impact Location |
Center of specimen |
Above the clamped end |
|
Notch Shape |
V-notch or U-notch |
V-notch |
|
Clamping Method |
Both ends free |
One end clamped |
|
Energy Measurement |
Energy absorbed during fracture |
Energy absorbed during fracture |
|
Test Purpose |
Measures material toughness |
Measures material toughness |
|
Common Applications |
Structural materials, pressure vessels |
Automotive, aerospace components |
|
Testing Standard |
ASTM E23, ISO 148 |
ASTM E23, ISO 148 |
|
Striking Angle |
Perpendicular to specimen |
Perpendicular to specimen |
Evaluating Impact Strength in Materials Science
Impact strength, which is fundamental in materials science, has numerous intrinsic and external factors that affect a material’s ability to endure rapid forces. Composition, grain size, and microstructural defects are a few of the intrinsic factors. Take, for example, some metallic alloys; they tend to exhibit increased toughness when thus refined due to enhanced resistance to crack propagation. Meanwhile, external factors such as the operating temperature and loading conditions considerably alter the impact performance. Generally, low temperatures tend to decrease ductility which can sometimes lead to brittle behavior, even in materials that are typically ductile, like certain grades of steels.
Some studied materials are also shown to have enhanced impact strengths with various treatments like heat and surface hardening. Quenching and tempering, for instance, improves steel’s impact fracture resistance by balancing its hardness to toughness attributes. Steel and aerospace industries are constantly pushing the boundaries in demanding fields such as automotive engineering – there are some advancements such as tailored impact materials provided by additive manufacturing. Finally, these factors illustrate the multidimensional evaluation of impact strength, which necessitates an extensive comprehension of the material properties and conditions in which the material will operate.
How Do Tensile and Impact Tests Compare?
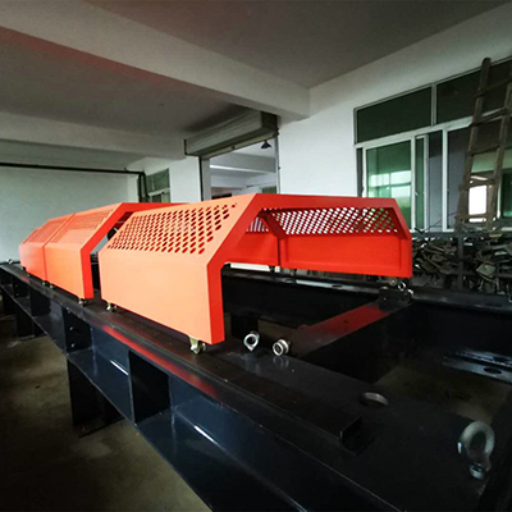
While tensile and impact tests evaluate materials for the same purpose, they do so by measuring different properties and under different conditions. For example, tensile tests evaluate the strength and the ductility of the material by measuring its response to a gradually increasing uniaxial load which culminates in failure. Impact tests determine a material’s ability to absorb energy during high strain rate loading, typically through methods like Charpy or Izod. Despite the focus on gradual application of force during tensile tests, impact tests focus on simulated real-world scenarios involving sudden forces, making them vital for understanding failure in dynamic environments. Comprehensive assessments of material behavior are derived from the tests.
Comparing Tensile Strength and Impact Strength
|
Key Point |
Tensile Strength |
Impact Strength |
|---|---|---|
|
Definition |
Resistance to deformation under tension |
Resistance to sudden or dynamic forces |
|
Testing Method |
Universal testing machine |
Charpy/Izod impact tests |
|
Force Application |
Gradual, controlled loading |
Abrupt, high-strain-rate loading |
|
Measurement |
Tensile stress at material’s failure |
Energy absorbed at fracture |
|
Typical Metric |
psi, MPa (stress units) |
Joules, ft-lbf (energy units) |
|
Material Behavior |
Ductility, stiffness, strength |
Toughness and fracture resistance |
|
Environmental Sensitivity |
Small impact from speed/strain rate |
Highly strain-rate dependent |
|
Relevance |
Slow-loading conditions |
Abrupt or dynamic force scenarios |
|
Common Applications |
Bridges, buildings, cables |
Automotive, aerospace, safety equipment |
|
Failure Type |
Fracture after elongation |
Brittle or ductile fracture |
Understanding Material Deformation and Fracture
Performance prediction for the materials under different loading conditions requires analysis of multiple interrelated factors. Composition and microstructural characteristics of the material, loading rate and temperature, as well as stress concentrators like cracks or notches are some key factors.
- Stress-Strain Behavior: Every material copes differently with stress; the stress-strain curve for that material elucidates its response. The stress-strain behavior is broken down into two parts: The first step is elastic deformation which allows for returning to shape after the load is removed. After the elastic zone, shape changes are permanent with an onset of plastic deformation.
- Fracture Mechanisms:
- Brittle Fracture: Sudden break with little to no symptoms, very destructive and a material loses function suddenly without significant deformation. More commonly found in materials with high strength or at low temperatures, these are the most ductile regions.
- Ductile Fracture: Failure in this zone is coupled with considerable plastic flow in the form of necking or voids which denotes ability to absorb more energy.
- Strain Rate Effects: There are distinct behaviors within different ranges of strain rates across materials. Low strain rates are more associated with ductility, while high strain rates found in dynamic impacts tend increase chances of brittle breakage in previously ductile materials.
- Temperature Influence: Elevated temperatures usually improve ductility and toughness because they are more mobile and can undergo plastic deformation more easily. Inversely, low temperatures are more likely to make these properties worse, increasing the chances of brittle failure.
- Microstructural Features:
- Changes with respect to graining, phase distribution, and the presence of voids and inclusions deeply affect the mechanical behavior of the material. For example, materials exhibiting fine-grain structures almost always demonstrate great strength and toughness compared to coarse-grained materials.
- Changes such as residual strains, the presence of impurities, and defects within the material also modify the mechanisms of deformation and the mechanisms of fracture path.
In the aerospace industry, understanding the thermally and mechanically controlled processes for microstructural aspects of a material has become incredibly fundamental given the emphasis for lightweight and high performance components. Modern engineering persistence ensures that materials are predicted and measured with greater accuracy, which transforms the established structural and infrastructural frameworks of the automobile and civil sectors. Advanced testing techniques paired with computational failure mode predictive modeling increase the reliability and safety of these materials for practical use, consequently reducing the failure risks associated with these components.
Tensile and Impact Tests in Various Industries
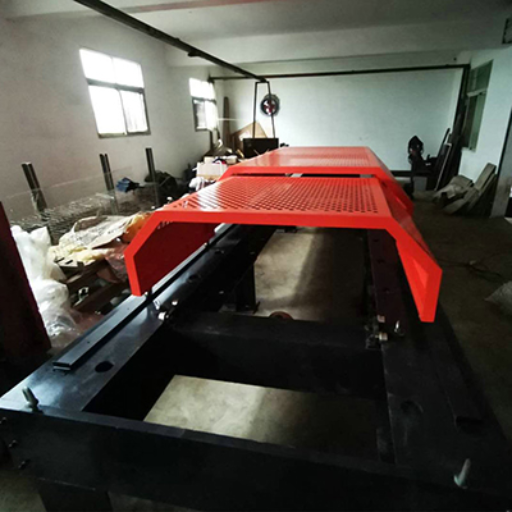
Tensile and impact tests have great importance in the evaluation of a material in different sectors of industry. Through tensile testing, an assessment of strength and ductility is performed via uniaxial tension, with results on yield strength, ultimate tensile strength and elongation. This is a matter of concern in aerospace and automotive industries, as materials are expected to endure great stress. Impact testing determines how well a material absorbs energy and resists fracture under sudden load applications. Construction and energy industries rely on these tests for extreme condition structural component safety and durability. These standardized methods provide reliable information in material design and selection for different intended uses.
Role in the Automotive Industry
In the automotive industry, materials must perform well both in terms of safety and durability. Material testing is quintessential to measure fatigue resistance, tensile strength, and thermal stability in highly engineered modern vehicles to ensure that the materials used in the chassis and engine parts meet standards for modern vehicles. Recently, there has been a shift to using impact aluminum alloys and carbon fiber composites which make structures lighter, bolster fuel efficiency, and reduce emissions without damage to the vehicle’s structural integrity. Moreover, testing the impact of materials used in construction during high-velocity collisions help analyze the behavior of materials for the advancement of safety features which aids in designing energy-absorbing structures like crumple zones. These advancements highlight the importance of rigorous material testing to adhere to regulatory and consumer demand in the automotive sector. Also, these advancements help meet standards of material safety in consumer goods.
Impact on Material Selection for Engineering Projects
The safety and cost efficiency of an engineering project highly relies on material selection, multiple mechanical properties such as tensile strength, compressive strength, and ductility directly guide a material’s operational capabilities. For example, ultra-high strength steels and advanced composites are widely spread in the aerospace and automotive industry for their unrivaled performance of strength-to-weight ratio.
Apart from mechanical properties, thermal resistance is an equally important consideration in sectors like power plants or jet engines, which operate at extremely high temperatures. These industries need utmost material stability and integrity. Also, thermal resistance matters in corrosion prevention for marine engineering applications. Considering the degradation caused by deep seawater exposure, stainless steel or some high-performance alloys are used because of their better saltwater corrosion resistance.
Cost effectiveness also impacts the selection of materials where performance and the budget available need to be balanced. This is often the case with aluminum’s lighter alloys and polymers which are easily accessible and cheaper to manufacture. Moreover, advanced technologies and newer inventions in material science, like nanomaterials or 3D printed composites, are changing the practices since they provide benefits that older materials to not.
Tips for Conducting Accurate Mechanical Testing
- Prepare Test Specimens Properly
As with all tests, make sure all specimens are prepared to the standard dimensions and surface finishes recommended by the relevant testing matrix. Specimen heterogeneity can cause variation in specimen results.
- Calibrate Testing Equipment
Calibrate all testing equipment like load cells and extensometers to set defined accuracy standards. Measurements taken with uncalibrated equipment are deemed untrustworthy and compromise reliability of the reading.
- Control Environmental Conditions
Control temperature and humidity levels to atmosphere for the test. External parameters tend to change the behavior of the materials and yield skewed results.
- Follow Standardized Procedures
Do not deviate from a recognized testing framework, such as ASTM or ISO, to ensure the credibility of reproducible test results and rational data files.
- Document and Review Data Thoroughly
All parameters and results should be captured in written form including the raw test results. Compare the gathered information for disproportioned values of the defined metrics, and validate the acceptable benchmarks for confirmed data crosscheck.
Complying with these steps will determine consistent and precise results essential for evaluating material’s reference performance values.
Ensuring Test Specimens Meet Standards
Test specimens, simplistically set as artifacts that are intended to be tested, should meet very rigid, important criteria in order for accurate benchmarks and metrics to be used properly throughout the tests and respective outcomes. Specimen preparation involves several steps, which include but are not limited to the three strict measurements, surface cleanliness, and the required environmental setting. These steps are measured accordingly to proper standards that range from ASTM D638 for plastics to ISO 6892 for metals. Not complying with these rules could break the evaluation because a lot of fundamental reliability is set on the evaluation benchmarks.
While creating specimens, one needs to pay attention to storage conditions like maintenance, handling, machining tolerances, and cutting styles. For example, failure to execute proper cuts may lead to microcracks or residual stress which will impact the sample’s structural strength during testing. Regulated controls, especially for temperature sensitive materials like composites and elastomers, encapsulate the most critical parameters, thus regulating humidity is equally important.
With the aid of modern technologies, tighter control of specimen parameters can be achieved through precision tools and non-destructive evaluation methods like optical or ultrasonic inspection which can reveal flaws without invalidating the test. Rigorous adherence to these guidelines alongside modern technologies means compliance to standards will be met thus preserving data quality.
Calibrating the Test Machine for Reliable Results
The calibration of any testing equipment is essential to its data output accuracy and reliability. This step entails checking and modifying equipment measurements against predetermined standards or reference measurements. Calibration of measuring devices like load cells, micrometers, and even displacement sensors which are benchmarked against internationally accepted guidelines, like ISO 7500-1 or ASTM E4 considering the force measurement systems, are known standards of the industry.
Calibration methodologies are refined with the adoption of new digital technologies. They include the use of software for real time acquisition and analysis of data, which lessens the impact of human mistakes and improves reproducibility. Frequency of routine calibration is defined by focus machine’s workload, environmental factors, and the machine manufacturer’s guidelines. In the case of materials testing machines, some parameters like the load, crosshead speed, and deflection measurement are tested and set during the calibration. These steps assure that the equipment will be in compliance with the regulatory and performance requirements for precision and reliability over the span of its service lifetime. Comprehensive documentation of calibration processes strengthens the claimed traceability and compliance to the system which provides confidence in the evaluation whether scientific or industrial.
Reference Sources
-
Dynamic Tension Testing: This study reviews techniques for dynamic tension testing, emphasizing the challenges in obtaining reliable stress-strain curves at high strain rates (~1000 per second). It introduces a new apparatus for accurate measurements and presents experimental results for materials with and without a yield point.
-
Tensile Testing for Fiber-Reinforced Composites: This research explores tensile impact testing for composite materials using a modified Split Hopkinson Pressure Bar. It provides dynamic stress-strain curves for carbon/epoxy and glass/epoxy composites, analyzing strain rates up to 1000 sec⁻¹.
-
Impact Tensile Test (ITT) Development: This paper discusses the evolution of the Impact Tensile Test as a simulated crash test for industrial materials. It introduces “ductile/brittle” transition diagrams and evaluates the resistance of welded thin plates under dynamic loading, particularly for automotive applications.
Frequently Asked Questions (FAQs)
Q: What is the primary purpose of a tensile test?
A: A tensile test is conducted to determine the resistance to tension of a material by applying a tensile force, which helps in understanding the ultimate strength, yield point, and maximum stress a material can withstand.
Q: How does an impact test differ from a tensile test?
A: An impact test, such as the Charpy impact or Izod impact test, measures the energy absorbed in fracturing the specimen when subjected to shock loading, providing insights into the material’s impact resistance. In contrast, a tensile test measures the force per unit area required to deform a material until fracture.
Q: What specific application does the impact test serve?
A: The impact test is particularly useful for assessing the suitability of materials for applications where shock loading and sudden impacts are common, such as in automotive or aerospace industries.
Q: Why is the modulus of elasticity important in a tensile test?
A: The modulus of elasticity, determined through a tensile test, indicates how much a material will deform under stress, providing valuable data for comparing and contrasting the flexibility and stiffness of different materials.
Q: In what scenarios would you compare and contrast tensile vs impact test results?
A: Comparing tensile vs impact test results is essential when evaluating the suitability for various applications, especially when both resistance to tension and impact resistance are critical factors for material selection.
Q: What role does fracture mechanics play in these tests?
A: Fracture mechanics helps in understanding how materials behave under stress, particularly in terms of crack initiation and propagation, which is crucial for both tensile and impact tests in determining a material’s durability and toughness.
Q: How does cyclic loading affect tensile and impact testing?
A: Cyclic loading involves repeated application of stress, which can significantly influence the results of tensile and impact tests by revealing how materials perform under prolonged stress conditions, often leading to fatigue and eventual failure.
Q: What is the significance of flexural testing in conjunction with tensile and impact tests?
A: Flexural testing complements tensile and impact tests by assessing a material’s ability to resist deformation under bending loads, providing a more comprehensive understanding of its mechanical properties across different stress scenarios.
Q: How important is protective equipment during mechanical testing?
A: Protective equipment is crucial during mechanical testing to ensure the safety of personnel as materials are subjected to high forces and potential fracturing, minimizing the risk of injury from flying debris or equipment failure.

